
Handwritten & Sticky Note
- Format
- Static
- Category
- Styles & Treatments
- Stage
- Any
- Requires
- Prompt only
What is it
An ad that mimics a physical piece of paper — a Post-it, a lined notepad, a taped flyer — with real handwriting on it. In a feed of polished graphics and studio product shots, a crumpled note reads as someone's fridge reminder rather than a campaign, and the eye slows down to read it.
What makes it work
It has to look photographed, not designed
Real shadows, a curled corner, visible tape, a slightly off angle. A flat, grid-aligned vector sticky note is just a worse digital ad. This is the one thing that decides whether the format works.
Rest something physical on it
A capsule, the product, a pen. A 3D object breaking the flat plane of the paper proves the note is real, and it's the cheapest credibility you can add.
Handwriting with wobble
Uneven spacing, a line running slightly downhill, imperfect letters. A flawless marker font on straight lines reads as a design choice, which undoes the whole thing.
Write their list, not yours
Real goals with real tasks — "meal plan for the week," "reorder supplements." The product completes the list rather than appearing on it as an ad.
Match the paper to the implied author
A Post-it is you talking to yourself. A lined notepad is you planning. A taped flyer is a stranger tipping you off. Different medium, different voice, different trust.
Shoot it somewhere real
Taped to a mirror, on a desk, pinned to a corkboard. Environment is another layer of physical proof, and it usually beats a note floating on a flat background.
Reference 1
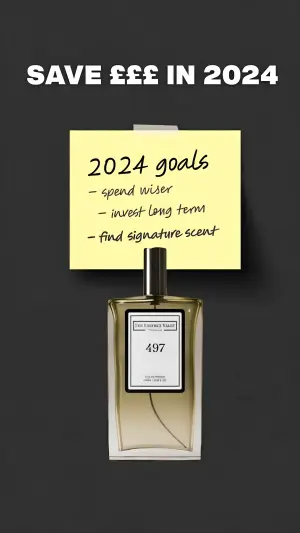
AI Edit Master Prompt
Using the attached image as the layout reference: keep the solid dark background, a bold caps headline across the top, a square yellow sticky note taped to the surface with a small strip of tape and casting a soft real shadow, black handwritten text on the note with a header and a dashed list beneath it, and the product standing in front of the lower edge of the note. Replace the product with {YOUR PRODUCT}. Set the headline to "{THE GOAL}", the note header to "{THE LIST TITLE}", and the list to "{THEIR GOALS}" with the last one pointing at your product.Reference 2
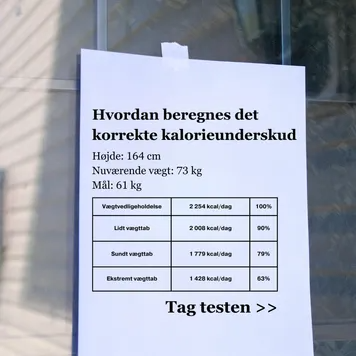
AI Edit Master Prompt
Using the attached image as the layout reference: keep the photograph of a plain printed paper flyer taped with a single strip of masking tape to a glass window, shot slightly off-square with reflections visible in the glass. Keep the flyer's printed layout: a two-line headline, three short lines of personal stats beneath it, a simple four-row table with three columns, and a bold call to action at the bottom. Set the headline to "{THE QUESTION}", the stats to "{THEIR NUMBERS}", the table to "{THE CALCULATION}", and the bottom line to "{CTA}".Reference 3
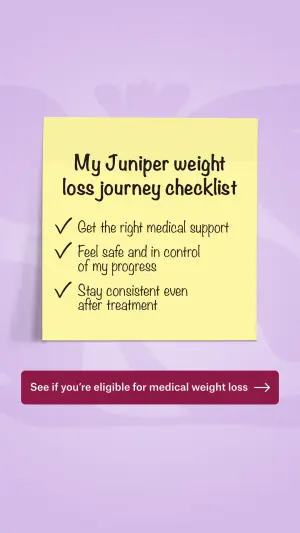
AI Edit Master Prompt
Using the attached image as the layout reference: keep the soft pastel background with a faint pattern, a large yellow sticky note centred with a subtle shadow, a handwritten two-line header on the note, three handwritten lines each preceded by a tick, and a solid rounded button below the note. Replace the background with {YOUR BRAND COLOR}. Set the header to "{THE LIST TITLE}", the ticked lines to "{THEIR GOALS}", and the button to "{CTA}".Reference 4
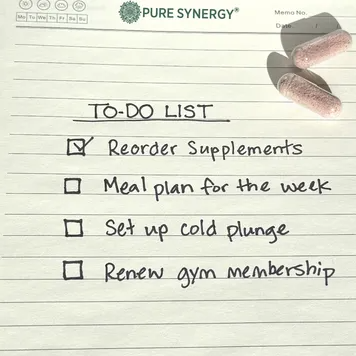
AI Edit Master Prompt
Using the attached image as the layout reference: keep the top-down close-up of lined memo paper filling the frame, a small printed logo at the top with the day and date fields beside it, a handwritten underlined heading, and four handwritten lines each with a hand-drawn square checkbox — the first ticked, the rest empty. Keep two physical product pieces resting on the paper in the top right corner casting hard directional shadows. Replace them with {YOUR PRODUCT}. Set the logo to "{YOUR BRAND}", the heading to "{THE LIST TITLE}", and the lines to "{THEIR TASKS}" with the ticked one naming your product.Reference 5
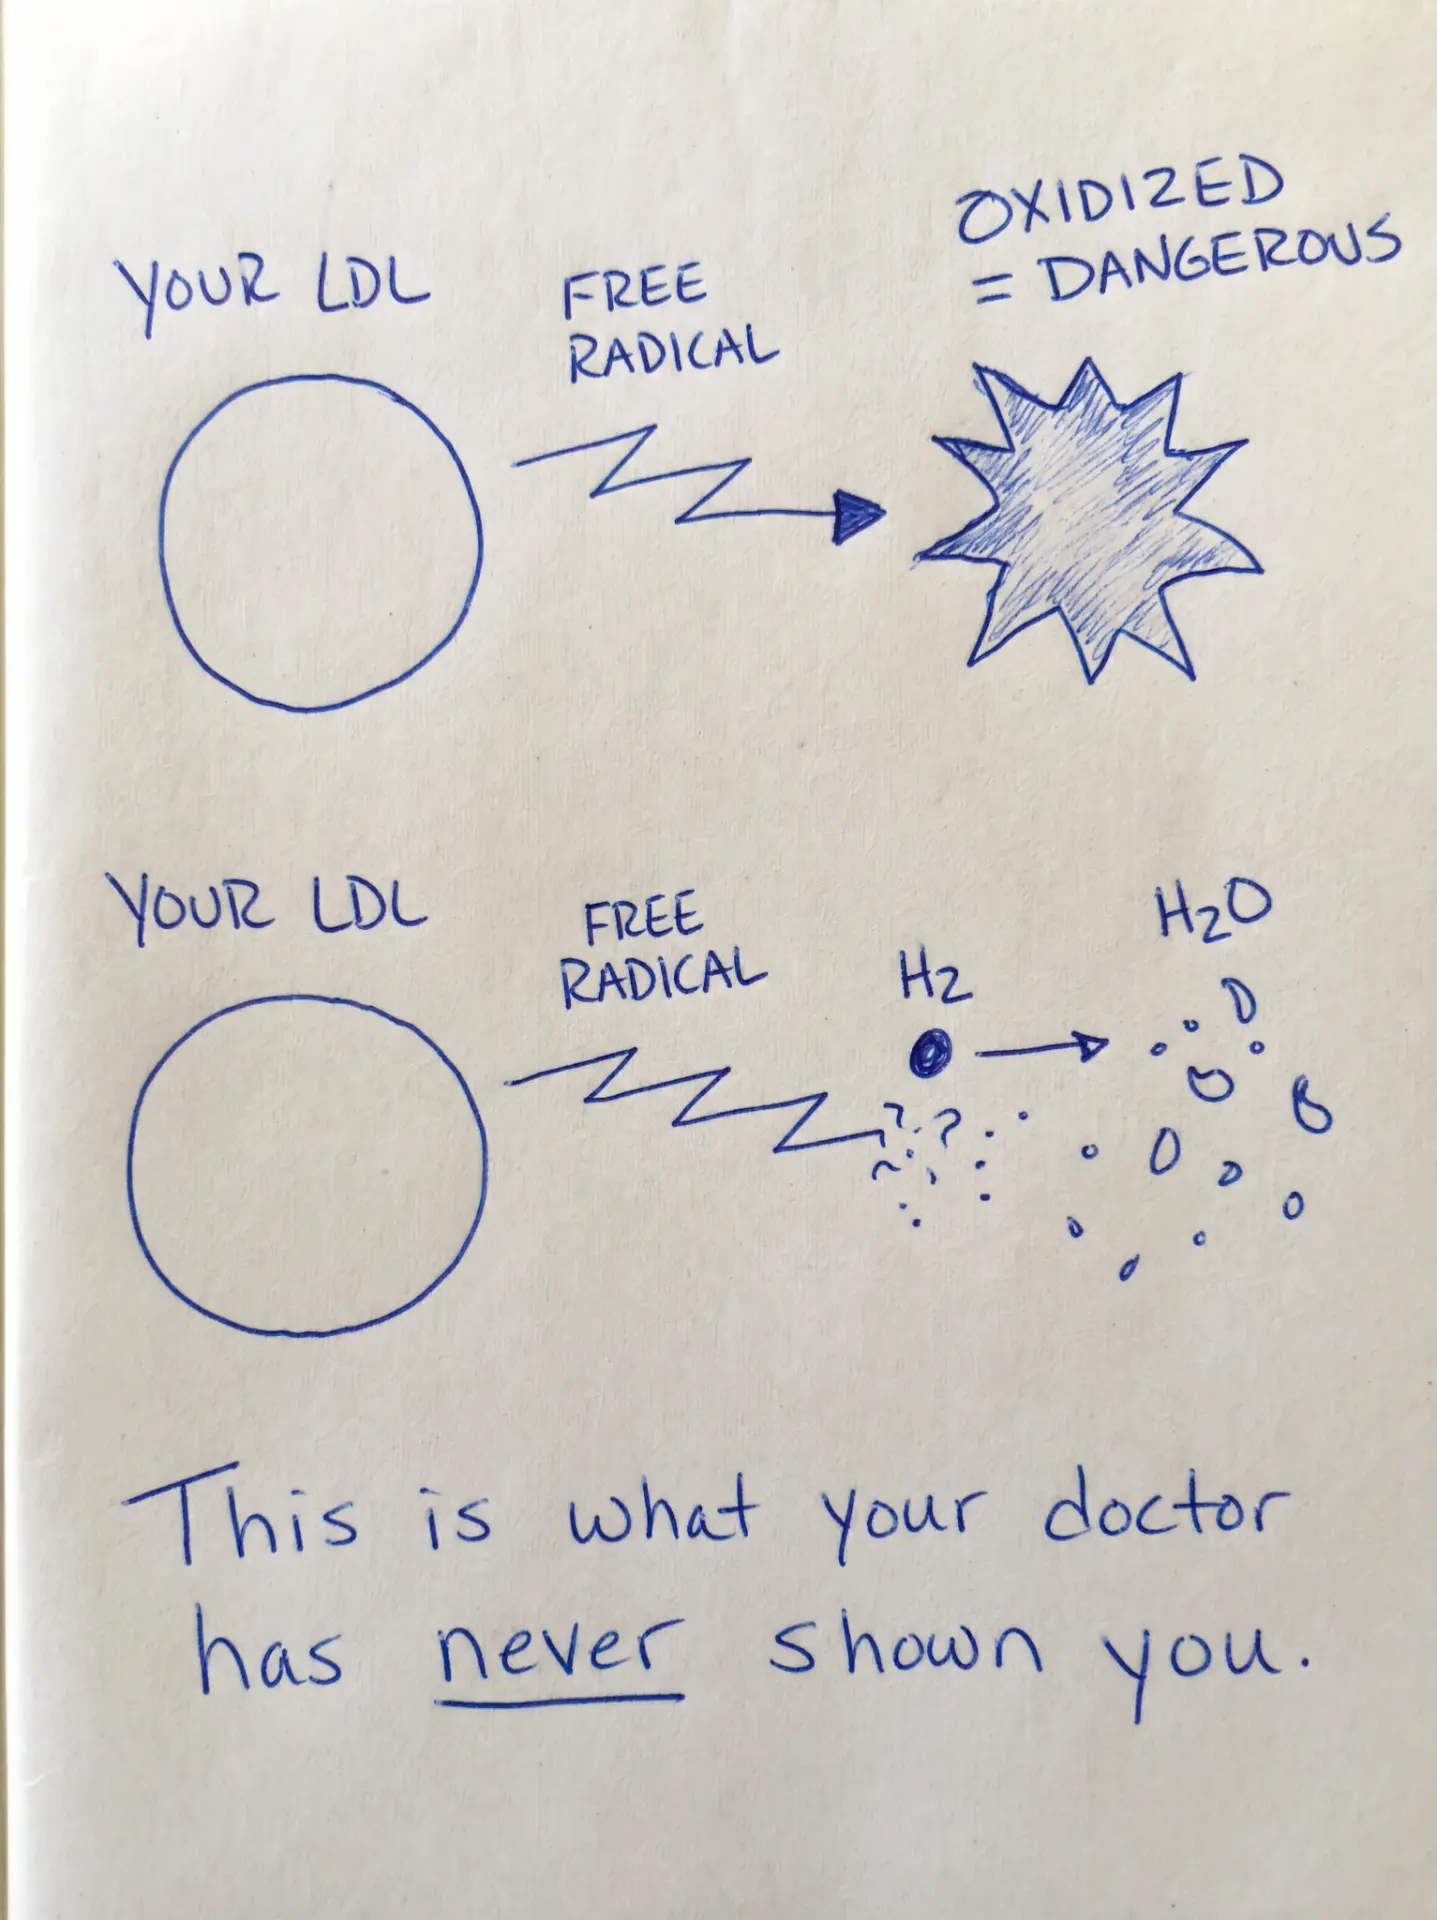
AI Edit Master Prompt
Using the attached image as the layout reference: keep the photograph of a plain off-white sheet of paper filling the frame, with faint paper grain and soft natural light, and everything on it drawn by hand in blue ballpoint pen. Keep two stacked rows forming a simple diagram, each reading left to right: a large hand-drawn circle with an all-caps label above it, a zigzag lightning-style arrow with a two-line all-caps label above it, and an end state on the right with its own label. In the top row the end state is a spiky starburst with cross-hatched shading, showing the bad outcome. In the bottom row the arrow is intercepted by a small filled dot with a label, leading to a scatter of small harmless doodled shapes, showing the good outcome. At the bottom keep a two-line sentence in larger handwritten upper-and-lowercase, with one word underlined. Set the circle labels to "{THE SUBJECT}", the arrow labels to "{THE THREAT}", the top end state to "{THE BAD OUTCOME}", the dot label to "{YOUR ACTIVE INGREDIENT OR MECHANISM}", the bottom end state to "{THE HARMLESS RESULT}", and the closing sentence to "{THE REVELATION LINE}" with "{THE UNDERLINED WORD}" underlined.Reference 6
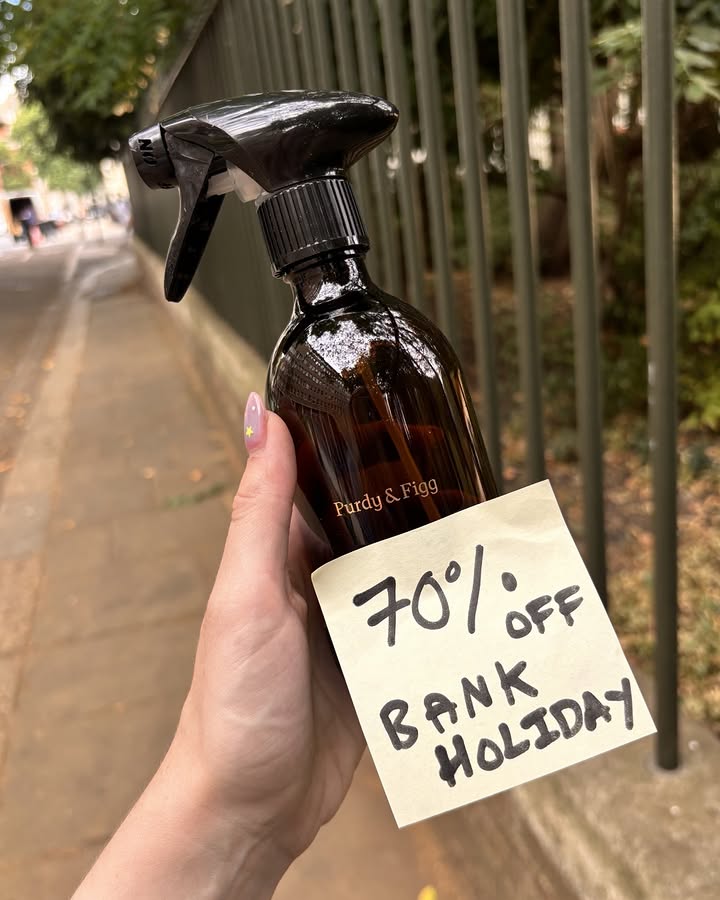
AI Edit Master Prompt
Using the attached image as the layout reference: keep the casual phone photograph taken outdoors on a pavement beside a tall metal railing, with blurred trees, a street receding into the background and soft overcast daylight. In the foreground keep a real hand holding the product up in sharp focus, with a square yellow sticky note stuck across the lower part of the product at a slight angle, written in thick black marker in all caps across three or four lines. Replace the product with {YOUR PRODUCT}. Set the sticky note to "{THE DISCOUNT}" and "{THE OCCASION}".Reference 7
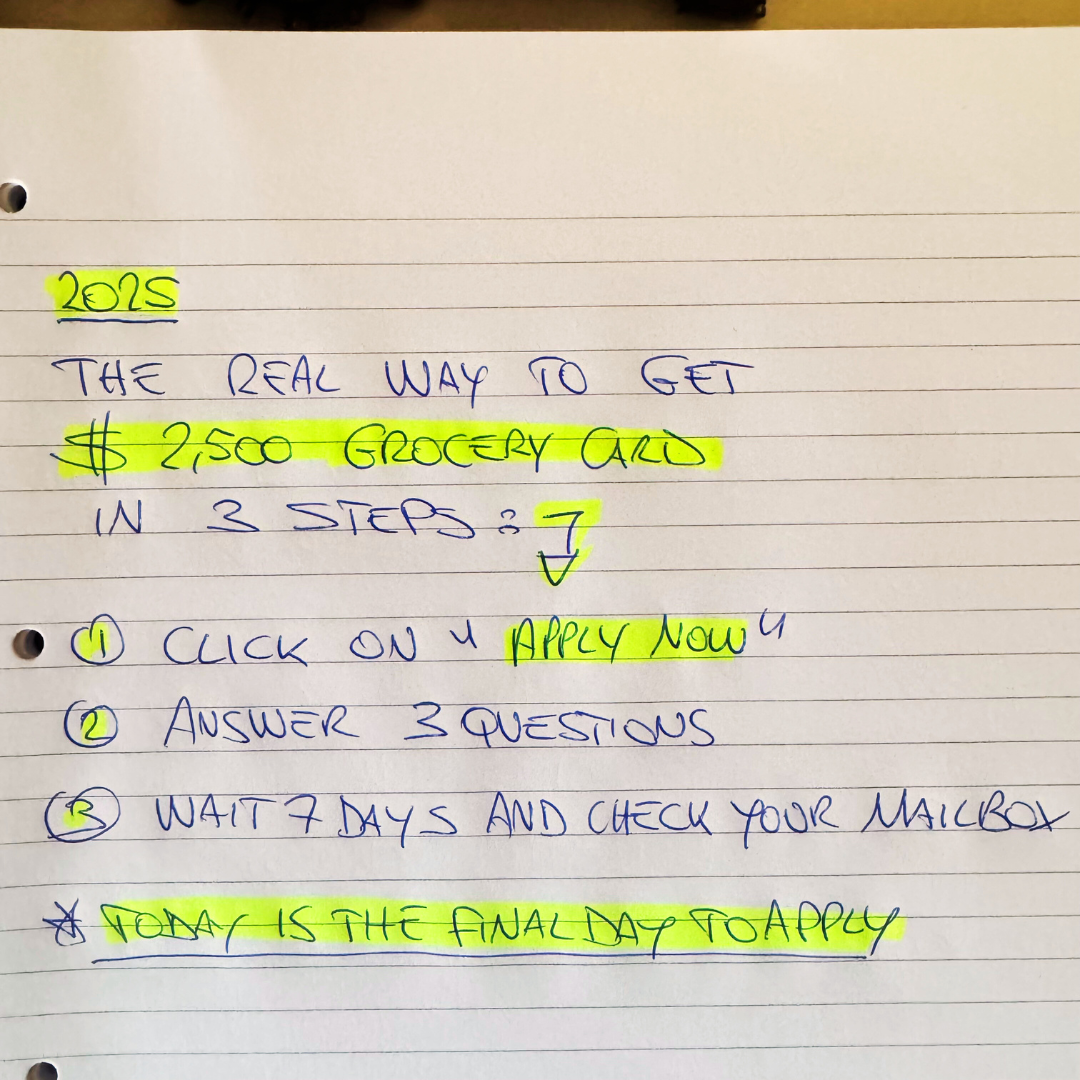
AI Edit Master Prompt
Using the attached image as the layout reference: keep the photograph of a sheet of lined, hole-punched notebook paper filling the frame, with the top edge of a surface visible, and everything written by hand in blue ballpoint in uneven all caps. Keep a short underlined highlighted label at the top left, a three-line headline beneath it with the key phrase highlighted in bright neon yellow marker, a small hand-drawn downward arrow, then three numbered steps with each number circled and one word in the first step highlighted, and a final starred line at the bottom highlighted and underlined. Set the label to "{THE TIMEFRAME}", the headline to "{THE HOW-TO PROMISE}" with "{THE HIGHLIGHTED OFFER}" in yellow, the three steps to "{THREE SIMPLE STEPS}" with "{THE CTA WORD}" highlighted, and the starred line to "{THE URGENCY LINE}".Reference 8
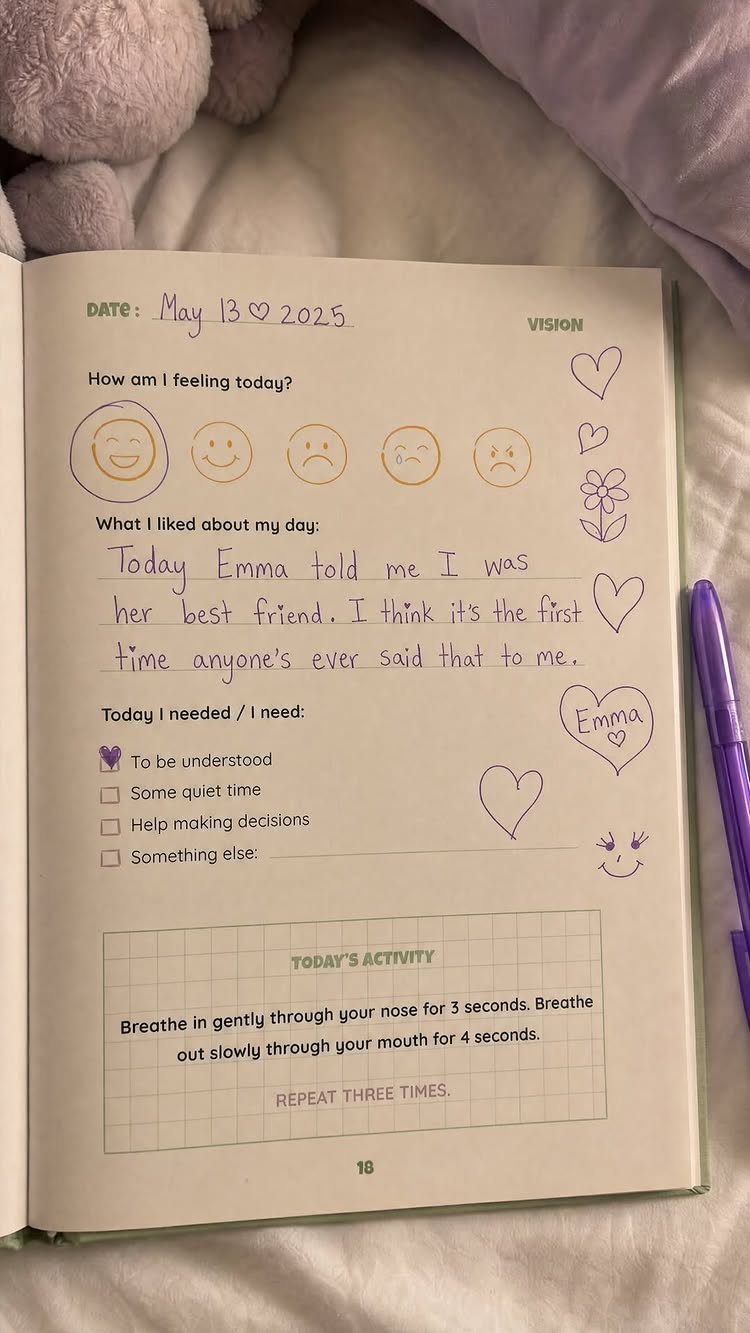
AI Edit Master Prompt
Using the attached image as the layout reference: keep the photograph taken from above of an open printed journal lying on a soft bed, with a plush toy and bedding in muted pastels at the top edge and a coloured gel pen lying beside the book on the right. On the printed page keep a date field filled in by hand, a small printed section label in the top right, a printed prompt question above a row of five printed emoji faces with one circled by hand, a second printed prompt with three ruled lines filled in by hand in the pen's colour, a third printed prompt above a short checkbox list with one box ticked by hand, small hand-drawn hearts and doodles in the right margin, a printed activity box on a faint grid at the bottom with a short instruction, and a page number. Replace the journal design with {YOUR PRODUCT'S PAGE LAYOUT}. Set the date to "{THE DATE}", the section label to "{THE SECTION NAME}", the handwritten entry to "{THE EMOTIONAL MOMENT}", the checklist to "{FOUR NEEDS OPTIONS}" with "{THE TICKED OPTION}" ticked, and the activity box to "{THE ACTIVITY INSTRUCTION}".Reference 9
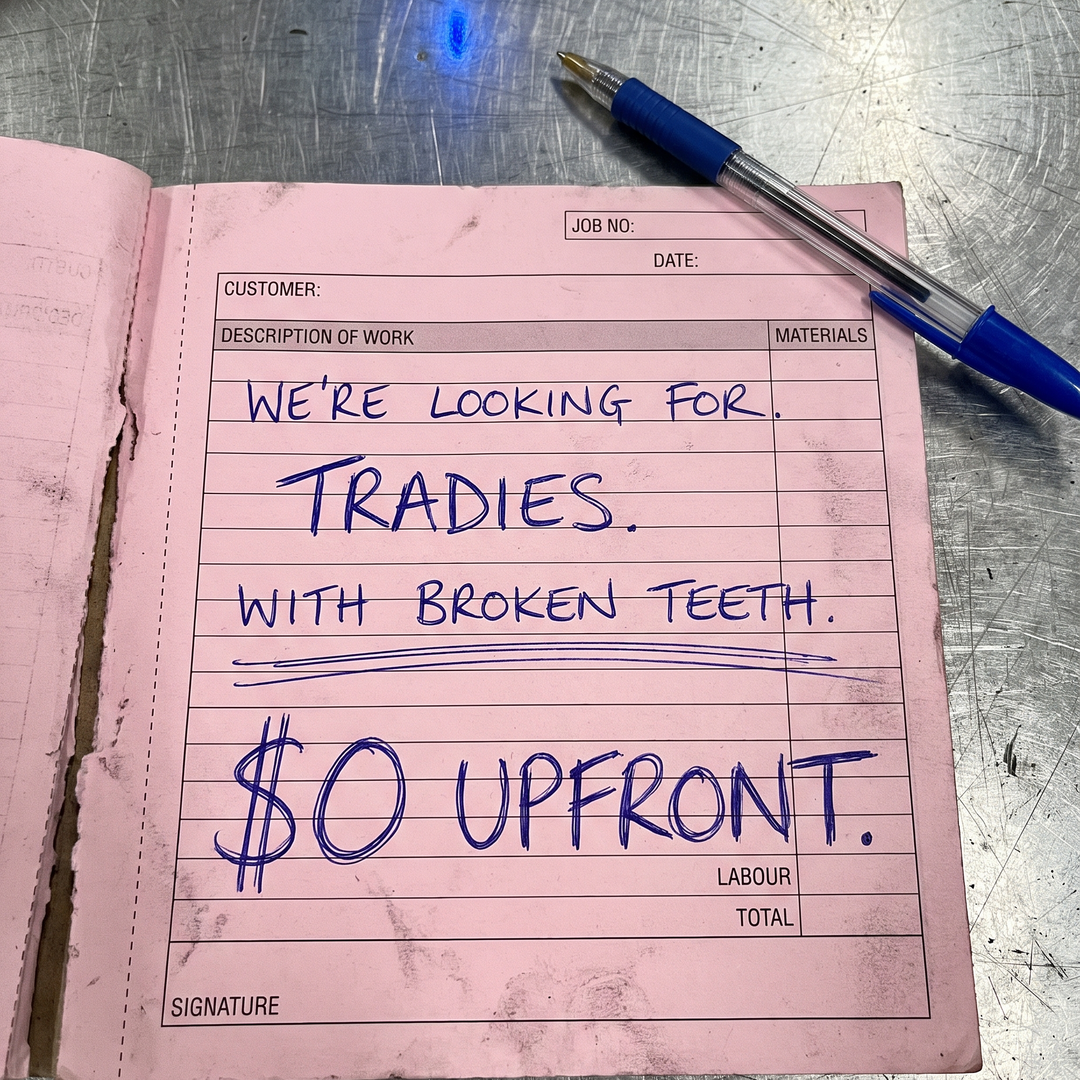
AI Edit Master Prompt
Using the attached image as the layout reference: keep the photograph of an open carbon-copy invoice pad in a coloured paper stock lying on a scratched stainless steel workbench, with worn, slightly torn edges and smudges, and a ballpoint pen resting diagonally across the top right corner. On the pad keep the printed form fields — job number, date, customer, a shaded "description of work" header, a narrow materials column, labour and total rows at the bottom, and a signature line — with a message handwritten across the ruled lines in blue ballpoint in all caps: a short opening line, a larger key word, a qualifying line underlined twice, and a very large final line. Set the opening line to "{WHO YOU'RE LOOKING FOR}", the key word to "{THE AUDIENCE}", the underlined line to "{THEIR PROBLEM}", and the final line to "{THE OFFER}".